
I didn't get a picture of what it looked like when I was soaking the coconut flakes, but just imagine coconut soaking in water at a 1 to 4 ratio (1 cup of coconut to 4 cups of water).
After the long process of soaking, I then used my trusty nutbag that I purchased specifically for making almond milk in order to drain the coconut.

After draining the coconut (with a couple of good squeezes to ensure I got out as much liquid as possible), I spread it out on a parchment-lined baking sheet.

I popped it into a 200 degree oven for a long time to make sure the flakes were nicely dried. The book didn't really specify a time, but I found that the best time is to let the dry for 45 minutes, then take out and stir around to expose any damp flakes, then more drying for another 30 minutes. Make sure the flakes don't get toasty, although 200 degrees is a fairly low heat.
After drying the flakes, pop them into a grinding receptacle. I opted to use my trusty spice grinder for this operation.
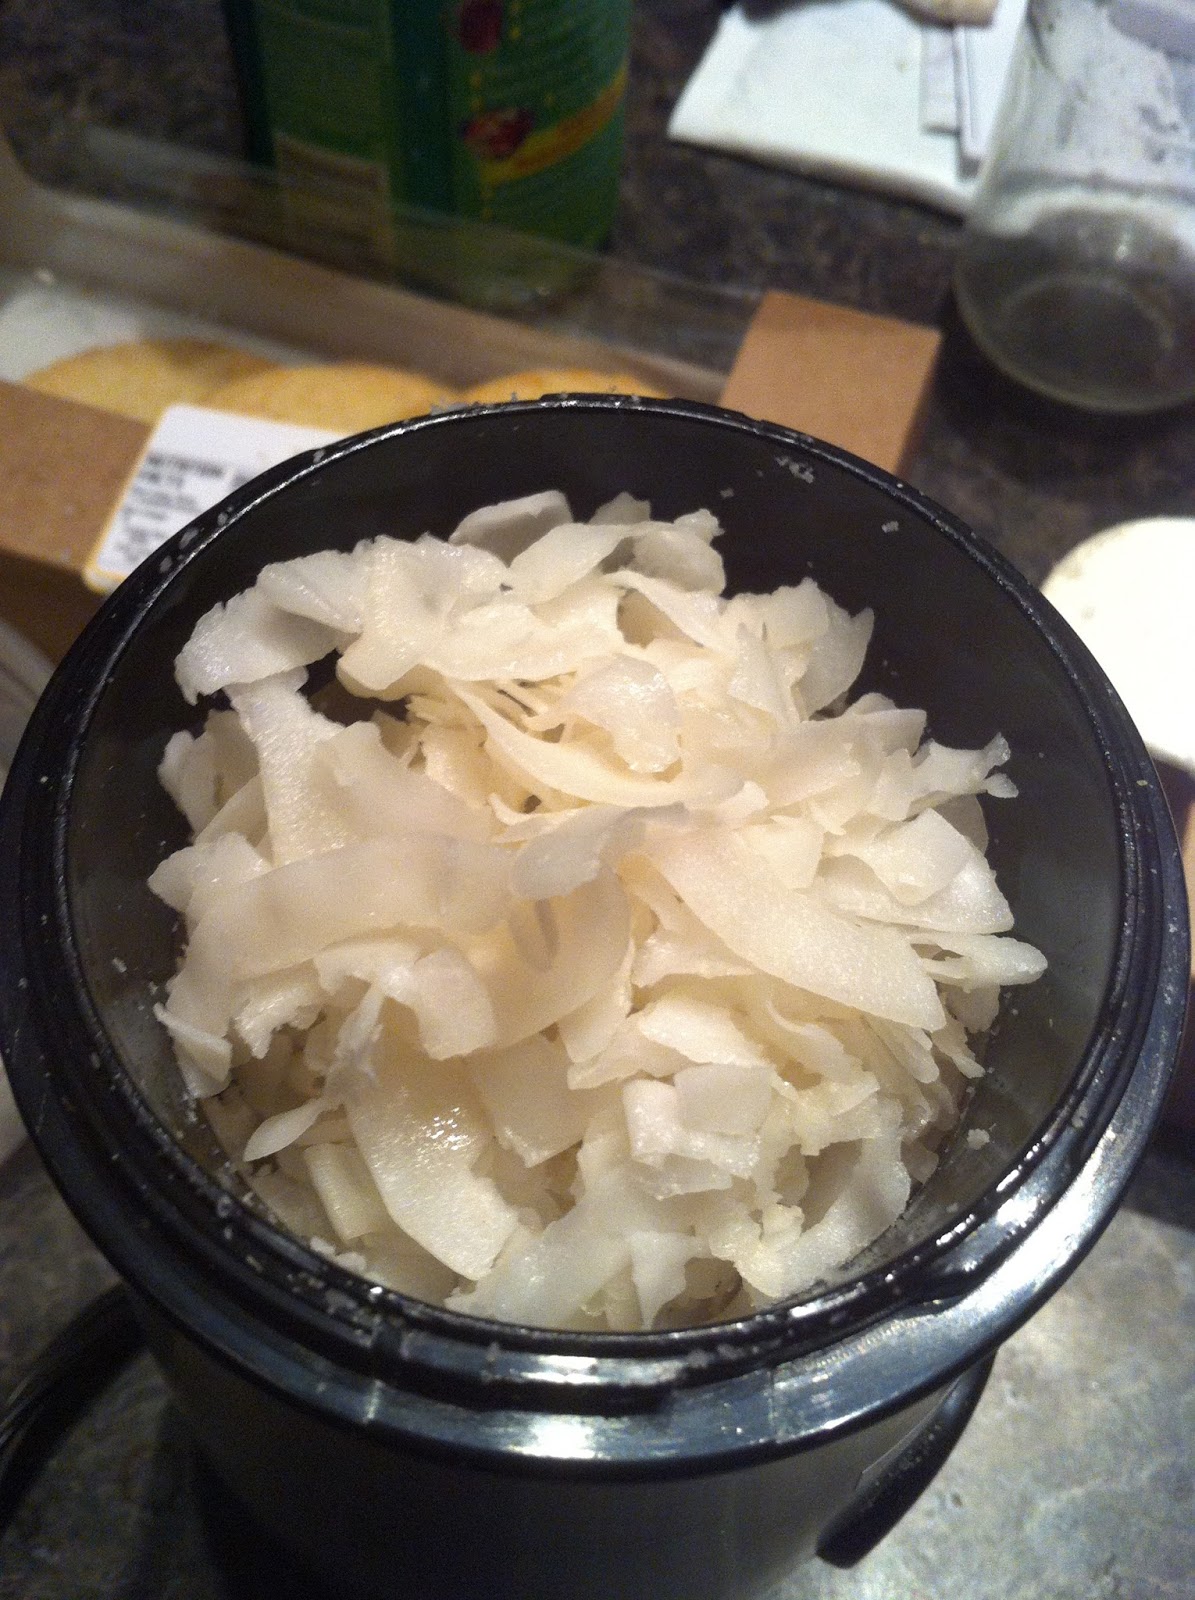
Luckily, coconut flakes are fairly fragile and easily ground. It only took a few spins of the grinder to get the flakes finely pulvarized into a flour consistency.

Now that my flour was ready, I put it in a storage container. A small, round Chinese take-out container worked perfectly.

Finally, after closing the container tightly with a lid, I labelled the container so I would know the contents and date prepared.

No comments:
Post a Comment