As I mentioned in my post about chickpea flour, I mentioned that I had downloaded a free Kindle book regarding coconut flour recipes. One of the first recipes in this book is for actually making the coconut flour. I purchased a bunch of unsweetened coconut flakes from Amazon, so I was excited to get started on the coconut flour recipe.
I didn't get a picture of what it looked like when I was soaking the coconut flakes, but just imagine coconut soaking in water at a 1 to 4 ratio (1 cup of coconut to 4 cups of water).
After the long process of soaking, I then used my trusty nutbag that I purchased specifically for making almond milk in order to drain the coconut.
After draining the coconut (with a couple of good squeezes to ensure I got out as much liquid as possible), I spread it out on a parchment-lined baking sheet.
I popped it into a 200 degree oven for a long time to make sure the flakes were nicely dried. The book didn't really specify a time, but I found that the best time is to let the dry for 45 minutes, then take out and stir around to expose any damp flakes, then more drying for another 30 minutes. Make sure the flakes don't get toasty, although 200 degrees is a fairly low heat.
After drying the flakes, pop them into a grinding receptacle. I opted to use my trusty spice grinder for this operation.
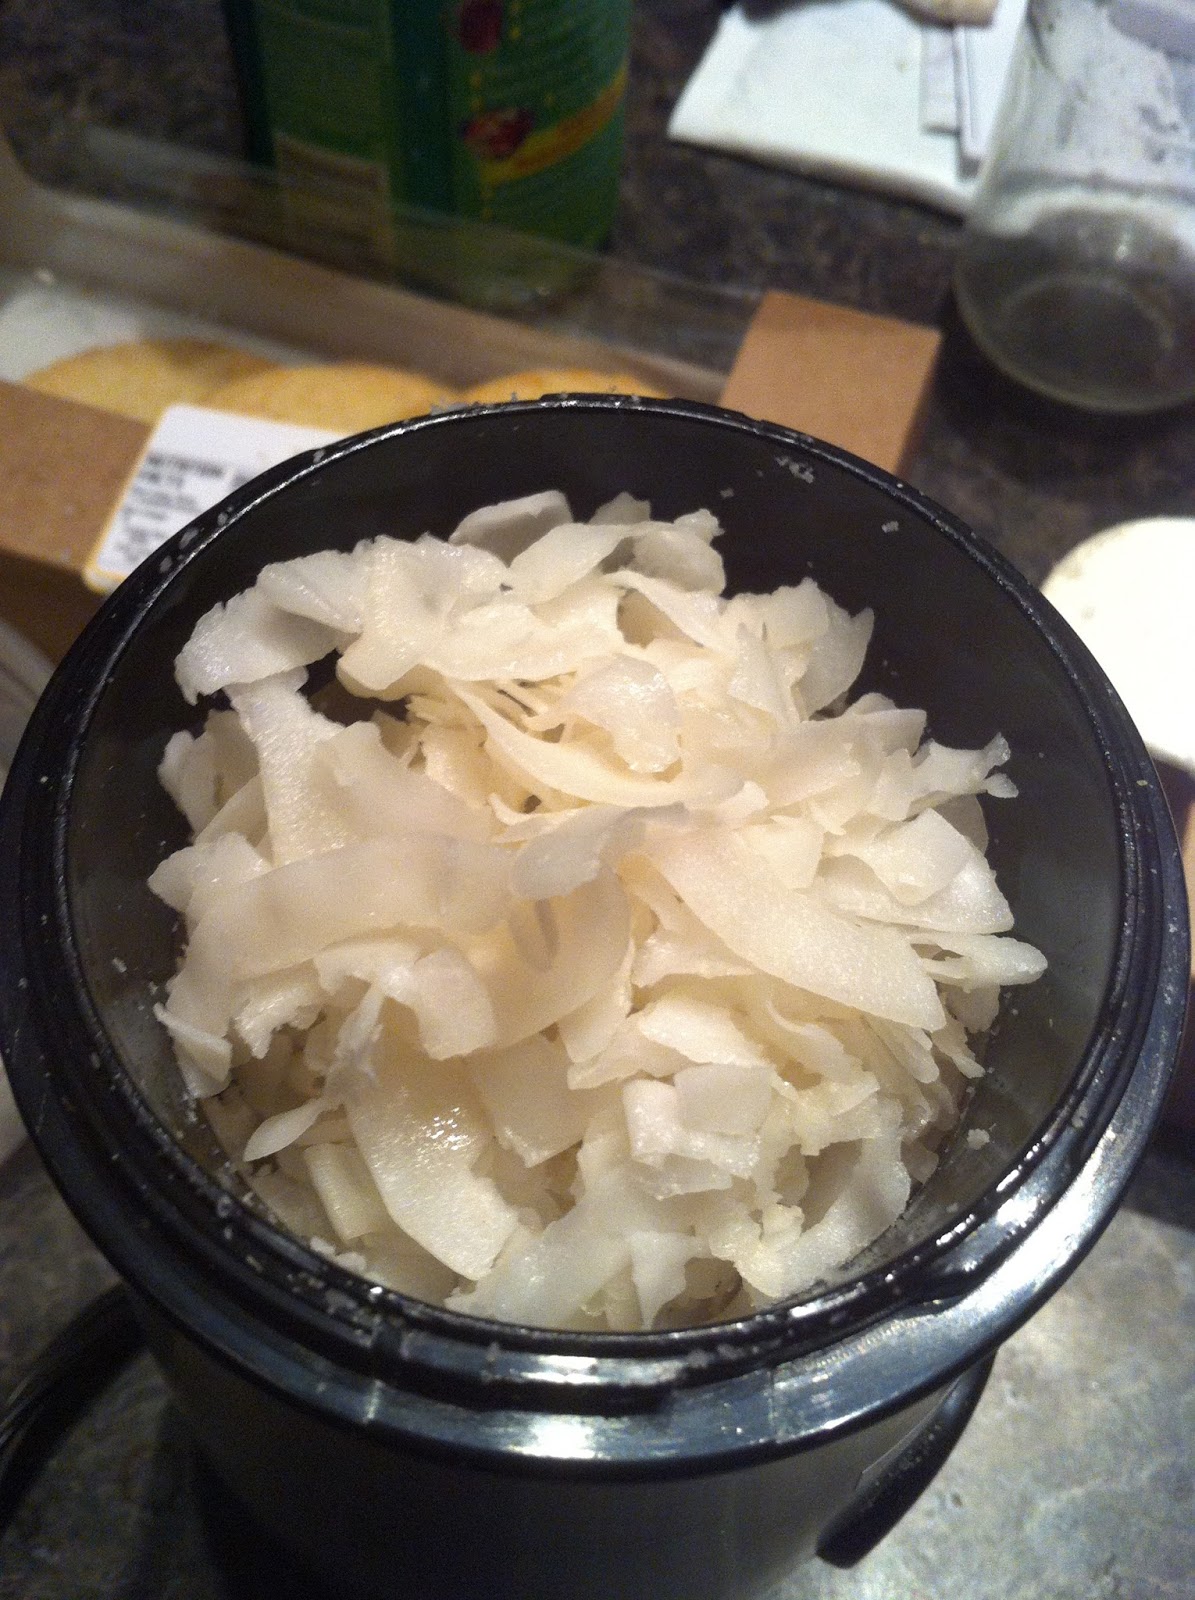
Luckily, coconut flakes are fairly fragile and easily ground. It only took a few spins of the grinder to get the flakes finely pulvarized into a flour consistency.
Now that my flour was ready, I put it in a storage container. A small, round Chinese take-out container worked perfectly.
Finally, after closing the container tightly with a lid, I labelled the container so I would know the contents and date prepared.
Showing posts with label gluten free. Show all posts
Sunday, September 8, 2013
How To: Coconut Flour
Saturday, September 7, 2013
How To: Chickpea Flour
I can't take credit for this recipe, which is why I'm calling it a "how to". My Saturday started with my husband heading to work and me wondering what I would do with myself while he was out of the house. I decided to start prepping myself for a return to vegan meals. I recently ordered some ingredients from Amazon, which included a 5-lb bag of chickpeas and unsweetened coconut flakes. Using a step-by-step guide from the internet, I wanted to make flour from the chickpeas. I also wanted to make a coconut flour using a recipe I found in a Kindle book I got for free from Amazon, which I will detail in another post.
First, the chickpea flour.
I won't restate how to do this because as I said, this isn't my recipe/method. If you want the step-by-step method for how to make the flour, go to the step-by-step guide I've linked above. What I do want to show you is how everything looked during the steps.
First, I started with the whole chickpeas. When I received the 5-lb bag from Amazon, I immediately transferred to a large storage container in hopes of keeping them fresh.
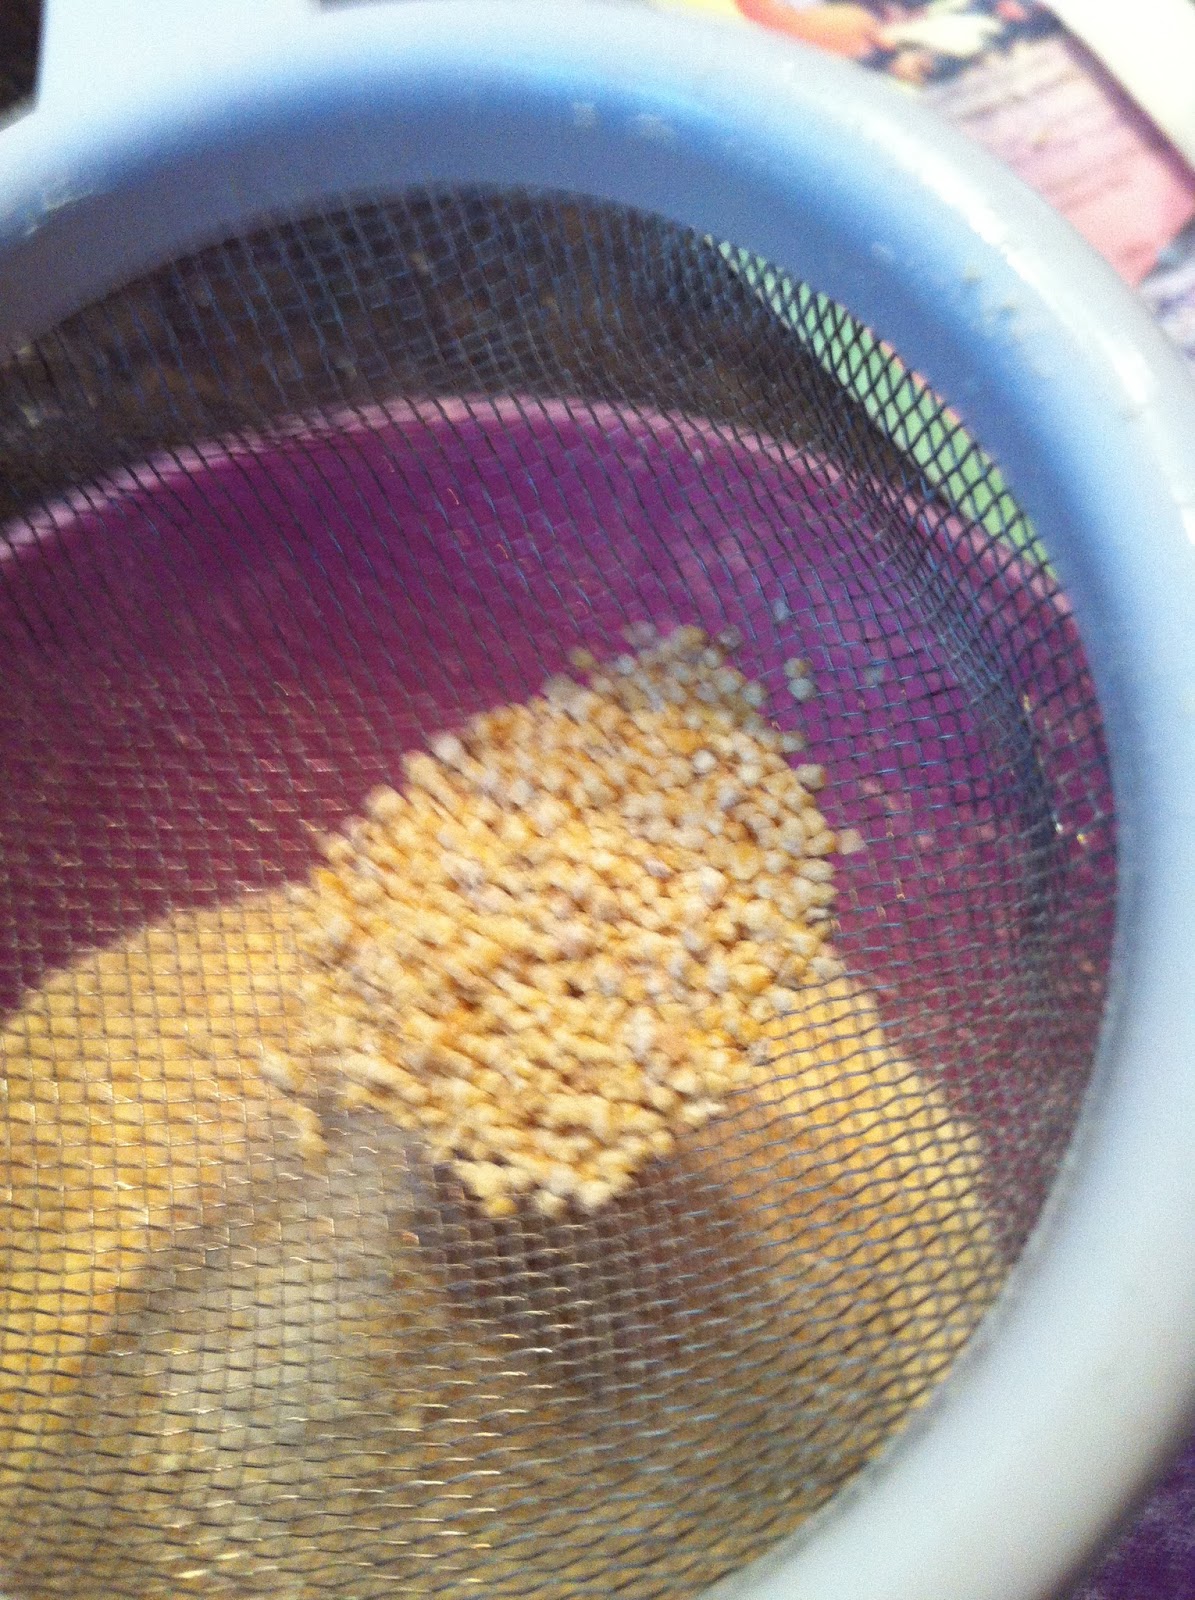
After grinding the chickpeas in my food processor and putting them in the wire-mesh strainer, I had a combination of partially whole chickpeas and what looked like chickpea meal.
I used a spoon to stir the chickpea mixture through the strainer to get as much of the meal through the mesh as possible. Then, it was time for me to use my new contraption.
One of my lovely coworkers gave me an Amazon gift card for my birthday, which I turned into this spice grinder. So, I put the unprocessed chickpeas in the grinder and pulsed it to try to get it to a meal. I stirred it through the mesh strainer. I had to repeat the grinding process in the spice grinder to get it all processed. When I finished getting as much chickpea meal through the strainer that I could, I ended up with a small amount of unpowdered (if that a word) chickpeas, which I discarded.
Making this flour was a labor of love. It took me a good half hour to get these chickpeas processed into a flour. After I got all my flour done, I put it in a clean storage container. I ended up reusing a Chinese soup take-out container for storing the flour.
Finally, when it was all closed and ready for storing, I labelled the top of the container so I could identify the flour and when I made it.
First, the chickpea flour.
I won't restate how to do this because as I said, this isn't my recipe/method. If you want the step-by-step method for how to make the flour, go to the step-by-step guide I've linked above. What I do want to show you is how everything looked during the steps.
First, I started with the whole chickpeas. When I received the 5-lb bag from Amazon, I immediately transferred to a large storage container in hopes of keeping them fresh.
After grinding the chickpeas in my food processor and putting them in the wire-mesh strainer, I had a combination of partially whole chickpeas and what looked like chickpea meal.
I used a spoon to stir the chickpea mixture through the strainer to get as much of the meal through the mesh as possible. Then, it was time for me to use my new contraption.
One of my lovely coworkers gave me an Amazon gift card for my birthday, which I turned into this spice grinder. So, I put the unprocessed chickpeas in the grinder and pulsed it to try to get it to a meal. I stirred it through the mesh strainer. I had to repeat the grinding process in the spice grinder to get it all processed. When I finished getting as much chickpea meal through the strainer that I could, I ended up with a small amount of unpowdered (if that a word) chickpeas, which I discarded.
Making this flour was a labor of love. It took me a good half hour to get these chickpeas processed into a flour. After I got all my flour done, I put it in a clean storage container. I ended up reusing a Chinese soup take-out container for storing the flour.
Finally, when it was all closed and ready for storing, I labelled the top of the container so I could identify the flour and when I made it.
Subscribe to:
Posts (Atom)